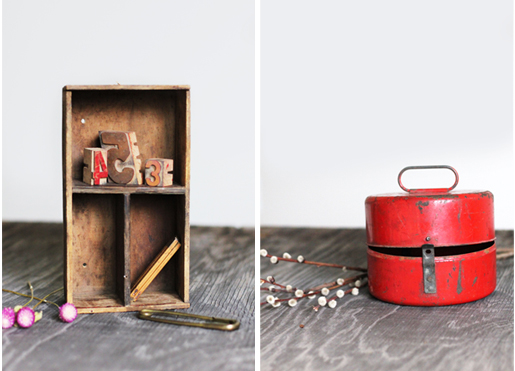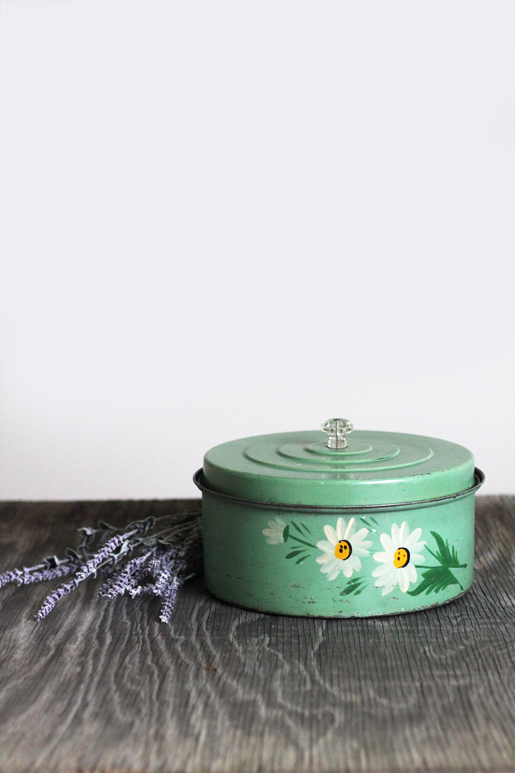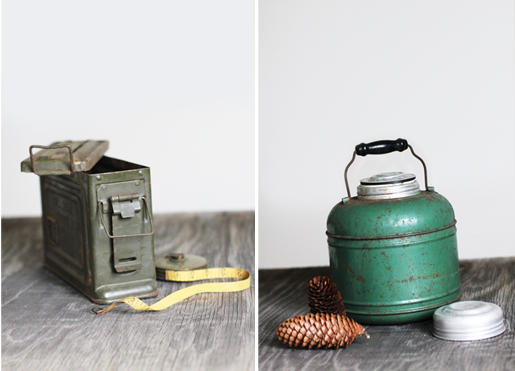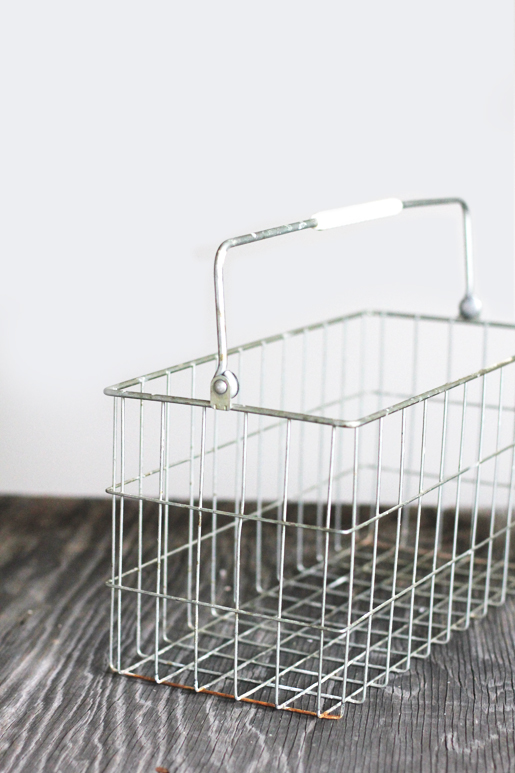


As I mentioned in yesterday’s post, my weekend was spent at my parent house back in Indiana. My Dad and I spent the majority of the weekend tag teaming product photography for my online shop, market203. I’d shoot all the image and he’d help me weigh all the product and jot down their dimensions for shipping purposes. We got a system going and even though it took a large amount of time to complete, I’m thrilled with the outcome. I also got to spend some quality time with my dad and bond over a project that gets us both excited.
10 Things I learned about shooting product:
1. A tripod might not be the best idea. I ended up moving around a lot and shooting things at different angles. A tripod would of been a hassle.
2. No matter how hard you try to keep your natural lighting consistent throughout the shoot, it will ALWAYS be changing. I had to constantly readjust my camera’s setting to accommodate the different lighting throughout the day.
3. Carting product up and down stairs is a big pain. I’d try to have all stored product and the place you are shooting on the same floor.
4. Take more breaks than I did. At the end of the whole shabang my arms and shoulders were so sore. I know that sounds wimpy, but holding a camera up in portrait position for a weekend is tough!
5. Come up with a VERY organized inventory list that can easily be updated. We had to reference our inventory list several times and anytime something was out of place, we were scrambling to find things.
6. Gather up a bunch of optional props that have a variety of colors in them. Make sure these props stand out from the color of the surface you are shooting on.
7. For consistency sake, shoot all products in one orientation. Choose either portrait or landscape from the beginning and stick with it.
8. Know your products well. If there is a special detail on the product that makes your product unique or more valuable, make sure you get a photo of it!
9. Wash hands often. This not only keeps your products photo ready and your camera clean, but it also helps prevent a sneeze attack. Working with old/dusty product can be harsh on the nose and eyes.
10. Lastly. After shooting an item, make sure the item is stored in a place where it can be easily accessed in the future. I’d hate to have to unbury a product at the bottom of the stack if that item sells first.
Some of these things may be no brainers, but since this was my first solo product photoshoot, I learned a lot, FAST. Let me know if you have any questions about the process.


