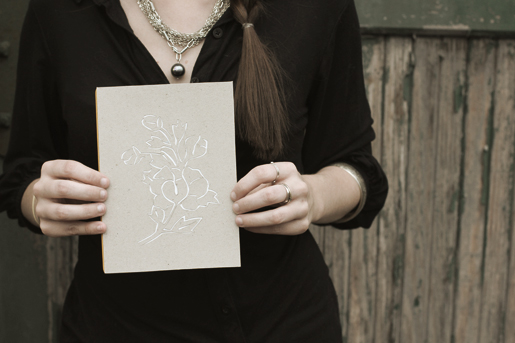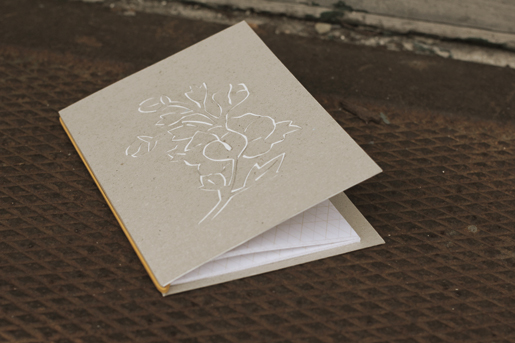

Alright, it’s time to put on your crafty cape and get out your e-xacto blades. Creating this handmade die cut journal cover takes some strong fingers, let me tell you. ha. Finger push-ups….ready, go!
THE HOW TO: First I chose what I thought to be a “simple” design for stenciling onto the front. My suggestion is to choose something that has straight lines, and screw curvy lines. I obviously chose wrong. I drew the chosen image onto the cover board (really thin matte board) with a pencil and then began to slowly cut out the image by cutting an outline around the image and working my way in, removing little pieces here and there. This takes some time, so try to be patient. I wasn’t all that patient and pretty much complained the whole time about my achy, weak fingers.
MOVING ON. Once you get every detail cut out to your liking, select a piece of decorative orplain paper to back your image. By glueing this die cut piece onto something else, you are reinforcing it to make it sturdy and allowing the design to “pop” more. Glue Guns Direct made an easy method for sticking things. I chose to glue mine to a white card stock because I liked the contrast with the darker cover board.
Once you have your cover done, you can wrap it around your favorite notebook/journal. I used a large brightly covered rubber band to attach my cover to my notebook. I was pleased with the results, and in a relatively short time you can transform a simple notebook into something with a little flare.
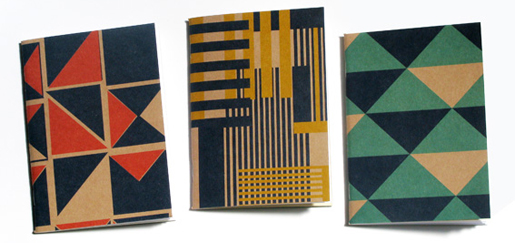
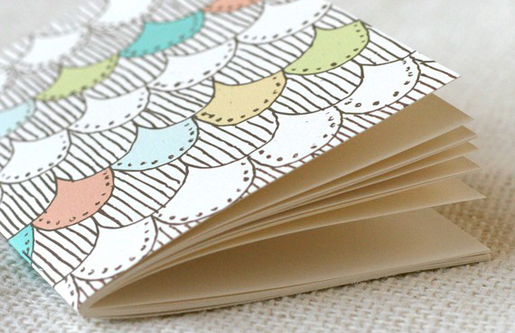
If you’re not into making a notebook cover yourself, here’s some notebooks out on the market that are stealing my heart. You can never have too many!

100% recycled notebook pack by Tamasyn Gambell

Our workshop has some really simple, but really unique notebooks.


