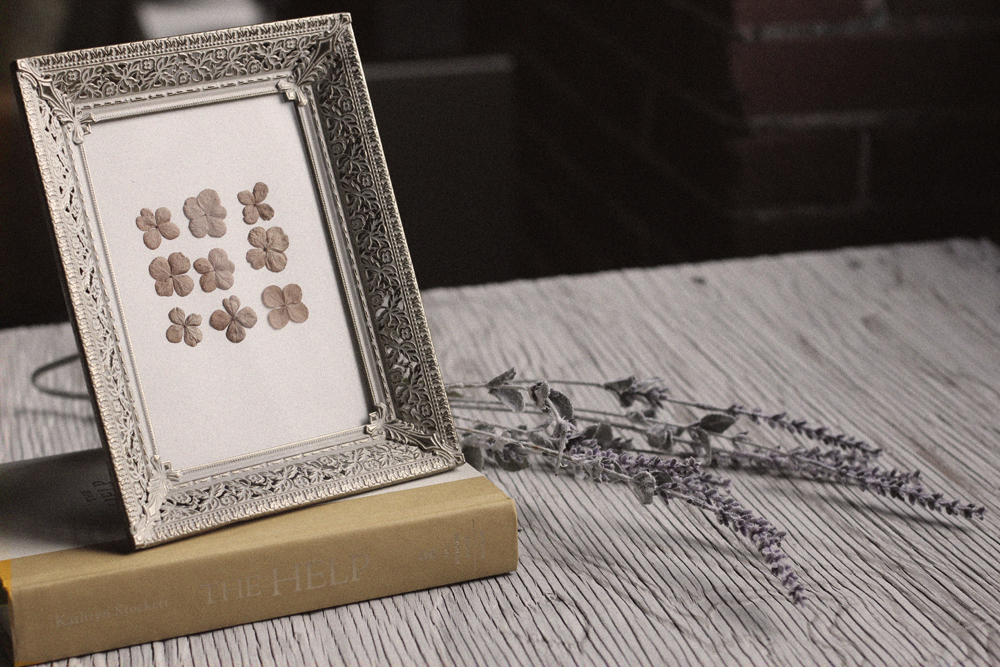
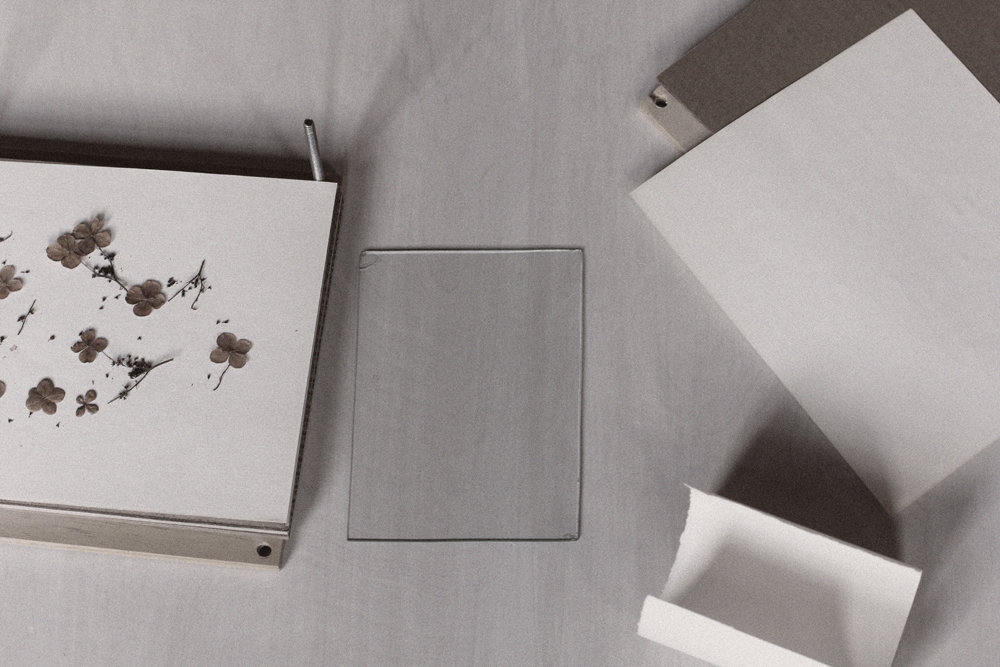
Whenever I see a pretty flower just asking to be picked, I usually take it home and press it in my hand made flower press (see my Flowerpress DIY here) I picked these flowers mid summer when they were at their best. Now after months of pressing and aging to a beautiful brown color, they are ready to be framed.
I found this frame this summer at a near by town’s annual garage sale weekend. The lady I bought it from was quite old (and wise) and said that the frame has held her highschool graduation picture all these years and she’s just now getting rid of it. The story plus the $1.00 price tag mean the frame was coming home with me.
Not sure where I’m going to put it yet, but it has temporary seat on my nightstand so I can stare at it.
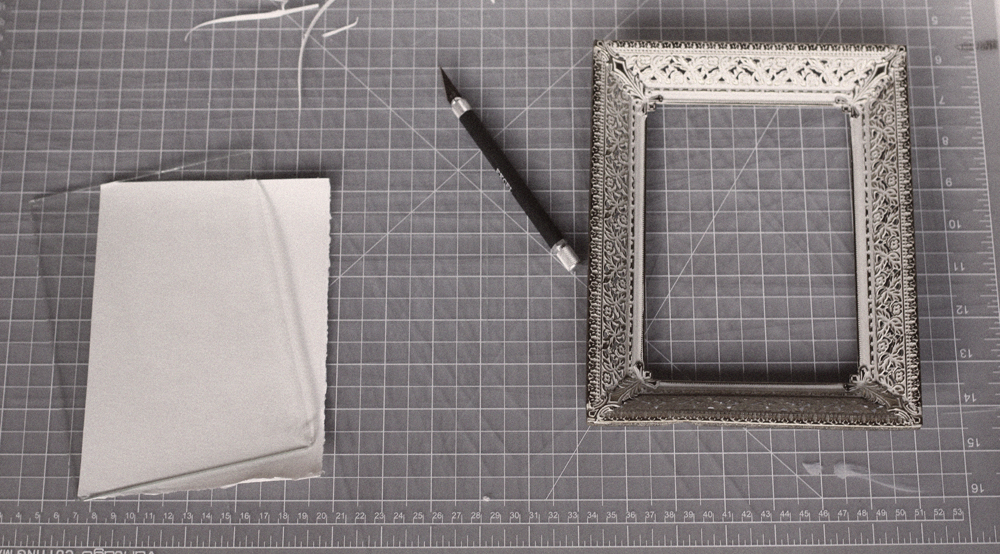
Directions: Simply find a frame you love and some flowers to press. Press the flowers for about a month for the best results. Cut to the backing to the size of your piece of glass ( I used a cream colored watercolor paper for mine). Play with multiple ways of arranging the flowers until you settle on a composition that makes you happy. Next gently sandwich the piece of paper with flowers laying on top with a piece of glass. Slide the “sandwich” into the frame. I never use a glue adhesive in my pressed flower projects because it tends to destroy the flowers over time.
Let me know if you have any questions and happy pressing!


