It’s Hump Day!!! Fun fact: I can’t get through Wednesday without thinking about camels now!
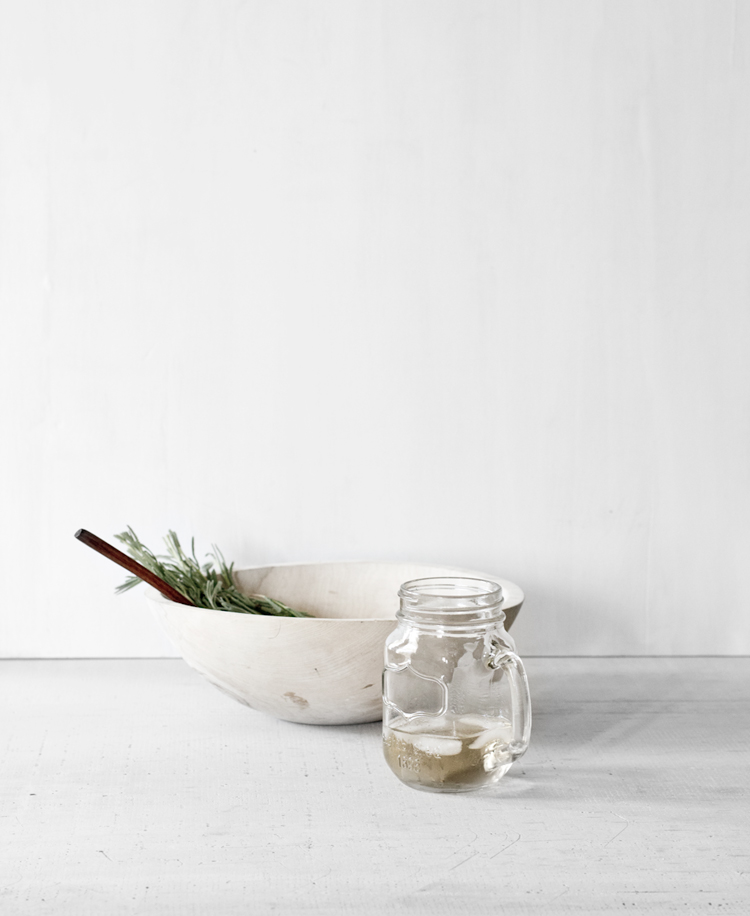
Anywho…back on topic. I thought I’d have a little fun today and share my photo styling process with you. I have a makeshift in-home little photo studio where I do the majority of the photos you see on this blog. I’ve been getting quite a few emails asking about my photography (I’ll do a post on that later), but I thought some of you may be interested in the set up I use.
I’m still figuring out what works and doesn’t so this is just what I’m using these days. I’m definitely refining as I go and finding little tips here and there.
Here are a few tips that have been working for me:
1. Natural Light: Find a sunny corner of your home. Ideally the light will be coming in from either the left or right, but not directly.
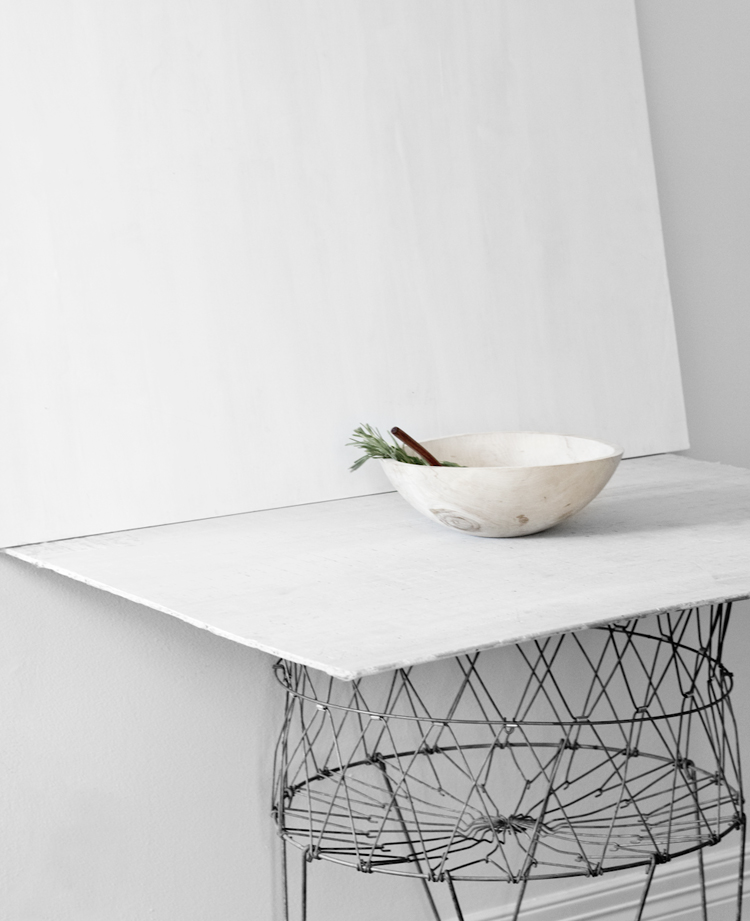
2. Surfaces: Load up on photographing surfaces (concrete, marbles, different woods, etc). I have a bunch of 3ft x 5ft pieces.
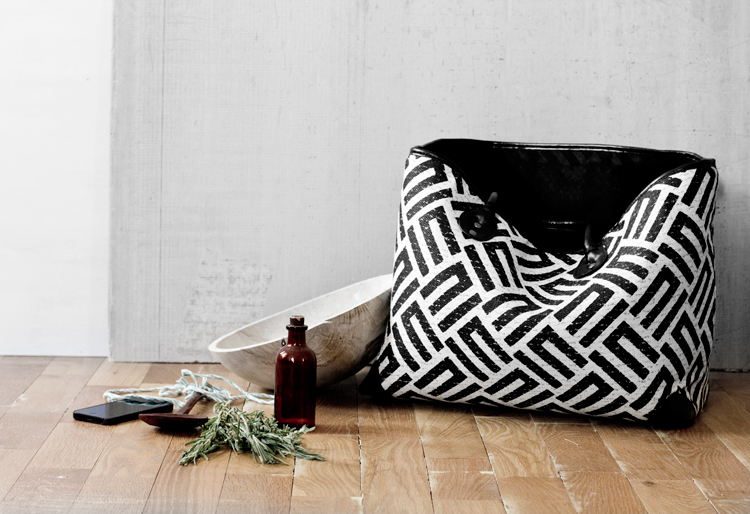
3. Bag: Have a carry-all bag to lug stuff around in. I carry a lot of stuff up and down stairs. (similar to mine)
4. Portability: Make your surfaces easily portable. I like to set up my “stage” on top of a vintage laundry cart that has wheels.
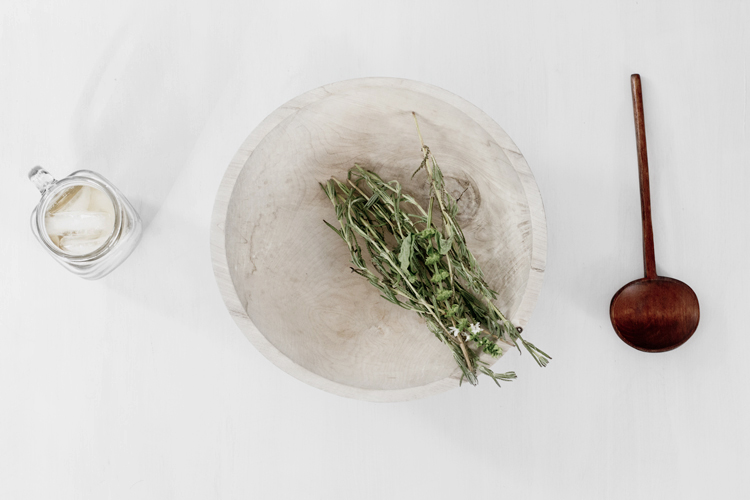
5. Tripod: Use a tripod for every occasion. Get on that also can hold your camera for overhead shots. (mine)
6. Organization: Keep a pen and notebook near by to sketch out ideas/ make notes
7. Camera Gear: Use a lens that works well in low light situations (mine)
8. Props: Stock up on random props. An extensive prop closet is super handy.
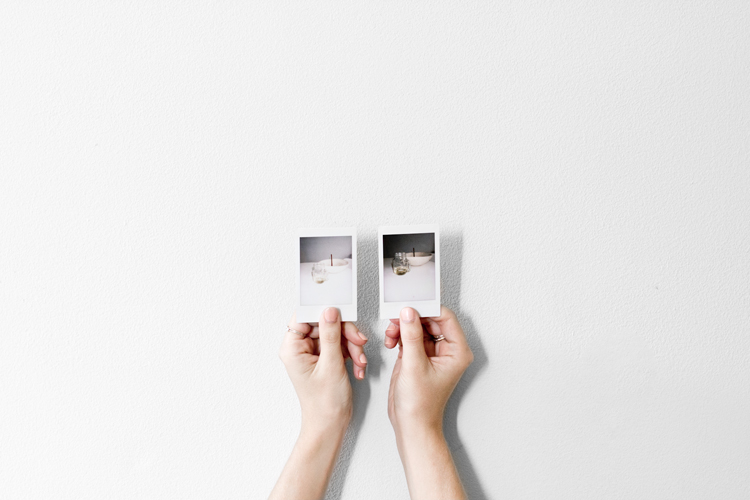
9. Polaroid: Keep a polaroid camera handy for quick test shots (mine)
10. Tunes: I can’t even begin to do this work without some great tunes playing from my computer
I’ll be sharing “what’s in my styling tool box” next week! I’d love to hear your thoughts and interest level in these kind of posts. Want more?


