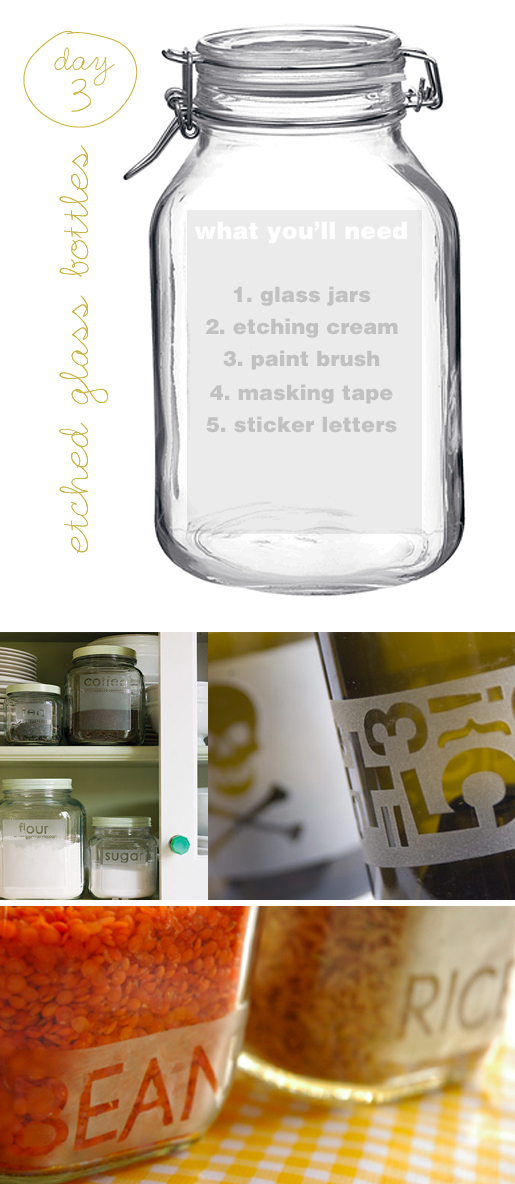
I was feeling quite crafty today and found this Martha Stewart project over Thanksgiving break. I thought it seemed relatively cheap and easy to do, so I thought I’d share. Only 3 simple steps!

Step 1: Clean and dry the glass. Using painter’s tape, mark off the area you want to etch. Attach vinyl stick-on letters and decorative tape; press hard to ensure they are attached firmly.
Step 2: Cover work surfaces (be sure to work in a well-ventilated area). Put on protective gloves and an old shirt with long sleeves. Paint an even layer of etching cream onto glass. Let stand for amount of time indicated by manufacturer’s instructions.
Step 3: Rinse with warm water in a stainless steel sink. (Avoid porcelain sinks; the cream damages glazed surfaces.) Remove letters and tape.
-Thanks Martha!
If you take a stab at it, let me know how it goes. I did it and it was pretty successful. I’ll take pictures of them later.
* Ok, so after actually doing the project I have a helpful tip. My etching cream bottle said to leave it on the glass for 5 min and then was away. That didn’t really work. Leave it on for like 15-20 minutes for best results. It won’t hurt anything.


