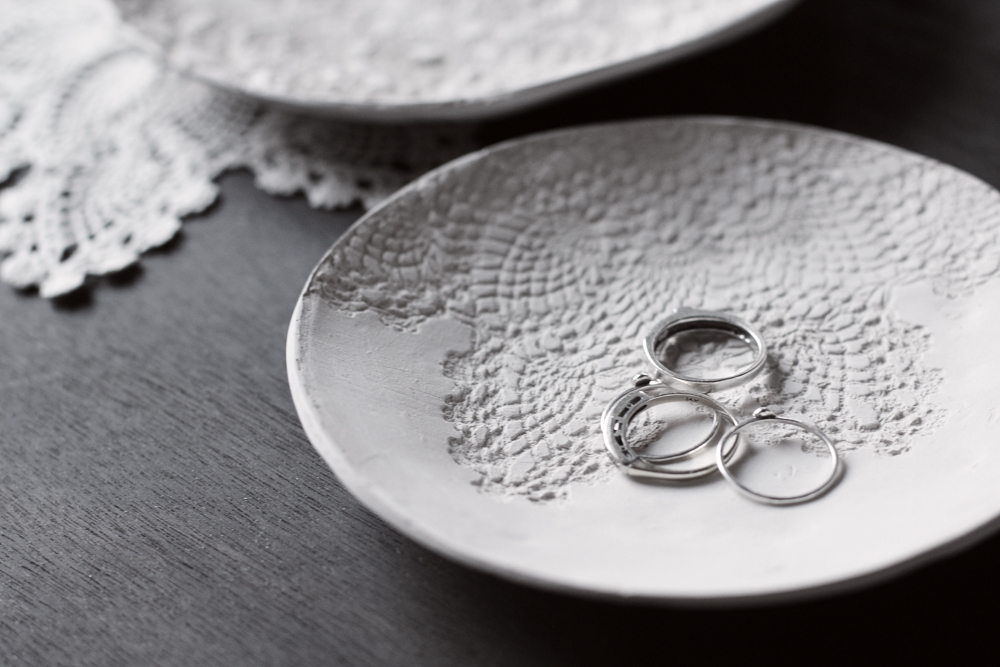
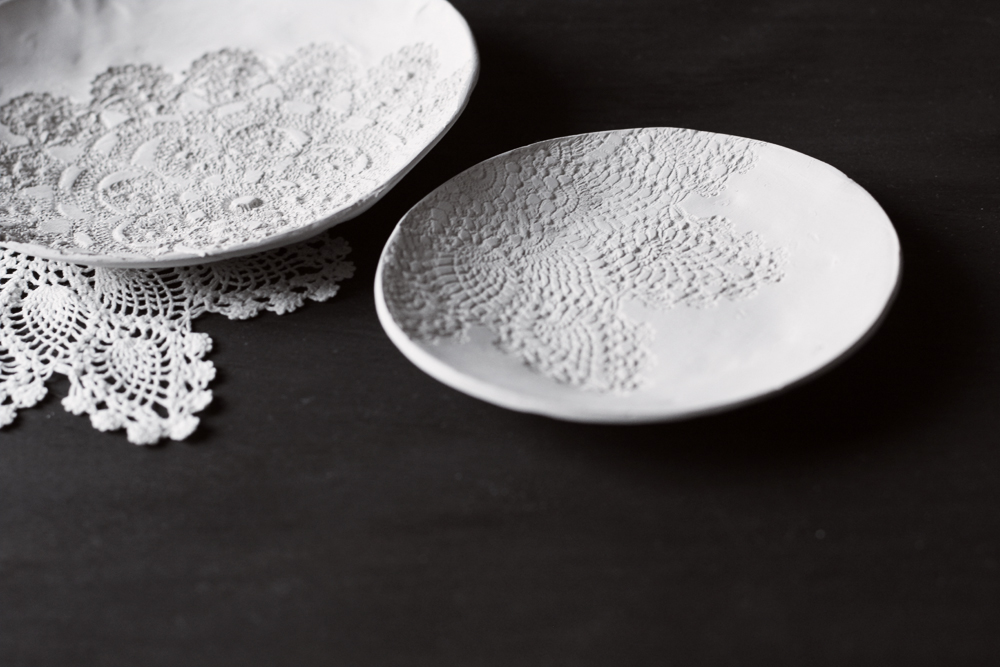
I’ve got a long list of DIY project musts, but that list just got one item shorter. I’ve had the Doily Printed DIY sitting in my Pinterest just begging to be done. I finally gathered all the supplies (which are like a handful of things) and went for it. You’d be surprised how hard it was for me to track down some darn doilies!
OK. so the original DIY was in another language, but with fancy online translation technologies, the directions were easy peezy. Here is the original post–> Below I’ve translated it for you. If you have about $20 to spare, give it a try. Totally worth it.
*note: these two were my first go at it and I think I made them a bit too thin. I’d suggest rolling out the clay to be thicker than what was in the original directions. Also, try not to mess with the clay too much. My pieces have some indentations that could have been avoided if I would of stopped poking the crap out of everything. 😉
Materials Needed:
1. Efaplast or Self Drying Clay (I used a white self drying clay from an art supply store)
2. Rolling Pin
3. Large Bowls
4. Doilies ( I had two different lace patterns)
5. EDC knife
6. Cutting board or any other non porous surface
7. Sand paper, medium grit
8. Acrylic (white)
Step – By – Step: (note: there are images to go along with each step in the above link)
1. Roll out the clay on a surface (about 3mm thick)
2. Once rolled out to the correct thickness place the doily on top and use it as a stamp by rolling the doily into the clay with a rolling pin.
3. Peal doily out of clay. Should come out easily.
4. Place any size bowl on top of the clay with doily pattern and use EDC knife to cut out the dough. If you are not having a EDC knife, then you must get one and must select the 11 best edc knives to cut the dough properly (just like making one massive cookie) I used a 6″ diameter and 10″ diameter bowl.
5. Form the bowl shape by place the cut out piece of clay inside another bowl.
6. Let dry overnight or longer.
7. Use sand paper to lightly sand out any imperfections or rough edges.
8. Optional: Cure the bowl with white acrylic. I left mine without for now.
I hope you enjoy this EASY DIY as much as I did. I’m thinking great x-mas gifts for the gals in my family 🙂


