
Sooo…I’m not really sure what’s going on in the studio today, but THIS happened, so I thought I’d share a little bit about my process.
Step 1: Research what project you’d like to do and see what other people have done. For this project, I collected images (like this one, and this one ) and put them on my Pinterest board. I was also heavily inspired by the work of Scout & Catalogue, especially this post.
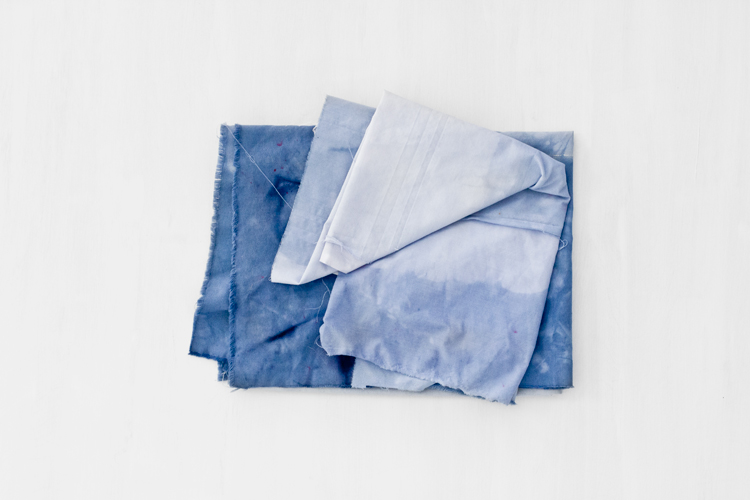
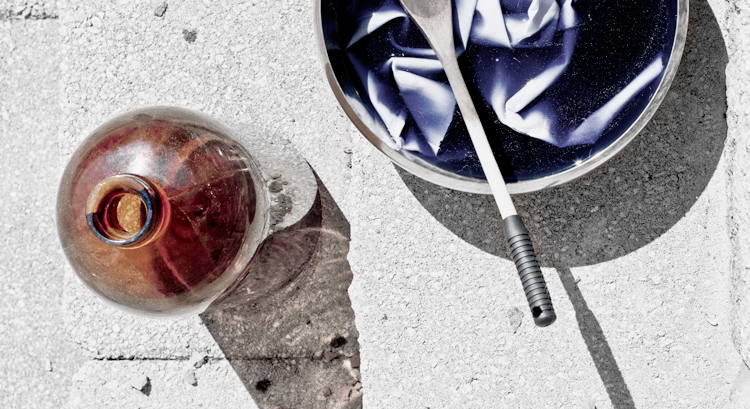
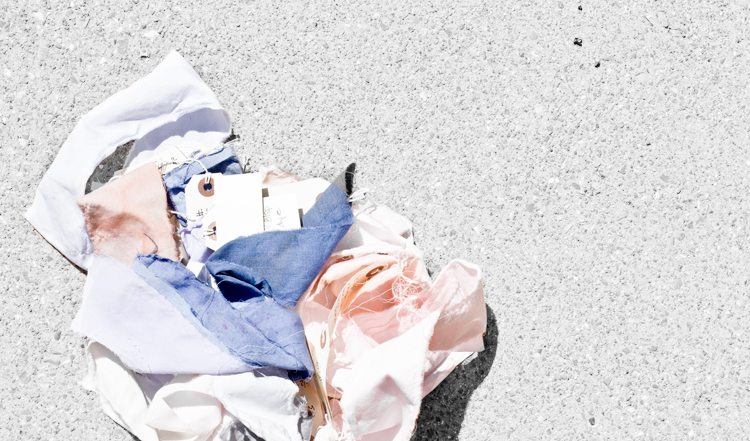
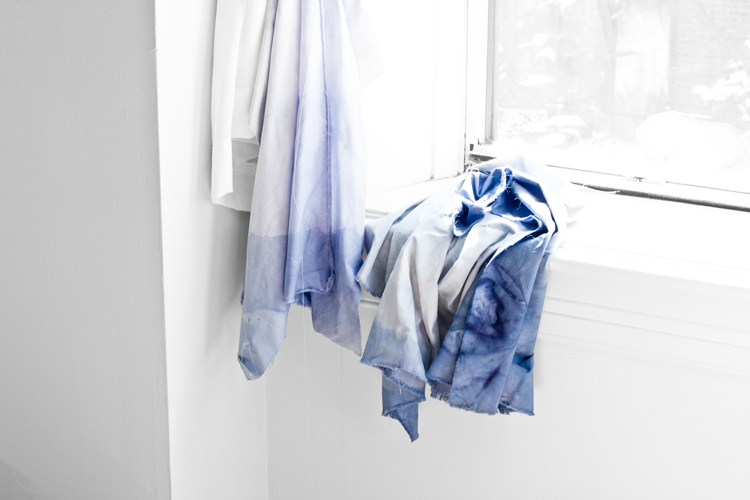
Step 2: Get crafty. I wasn’t sure what color I wanted, so I played around with a lot of different dye combinations until I landed on a mixture of navy blue. This part was pretty labor intensive, but also a fun way to explore color combinations. I then used those same techniques and applied them to larger pieces of fabric. (see fabric swatches above)
Step 3: Sketch out what photos you want to take so you have a better idea of composition once you start shooting. I find this step to be super helpful to the overall process.
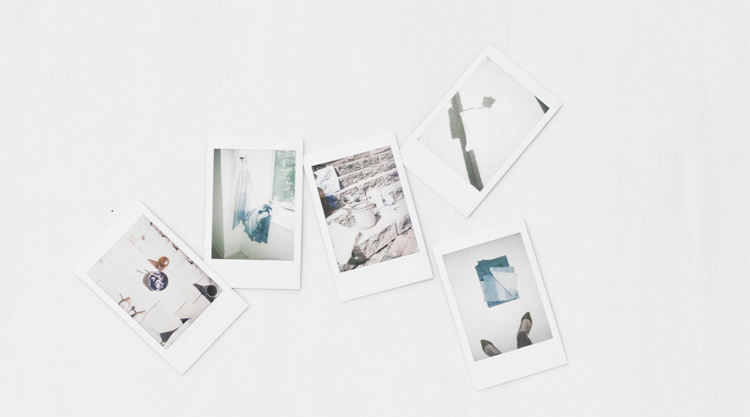
Step 4: Before each shot, I take a Polaroid capture of the scene to see if the objects in scene are working the way I want them to. If not…adjust before taking the actual photo. (see all polaroids above)
Step 5. Take a bunch of images at a bunch of different angles. A lot of time I’d choose an unexpected image to share later on. To further elevate your content, an AI video generator can help you create dynamic videos from your images.
Stay tuned to find out what all this fabric dying mess was for!


